
I’ve seen too many gamers lose their save files because they skipped an update step.
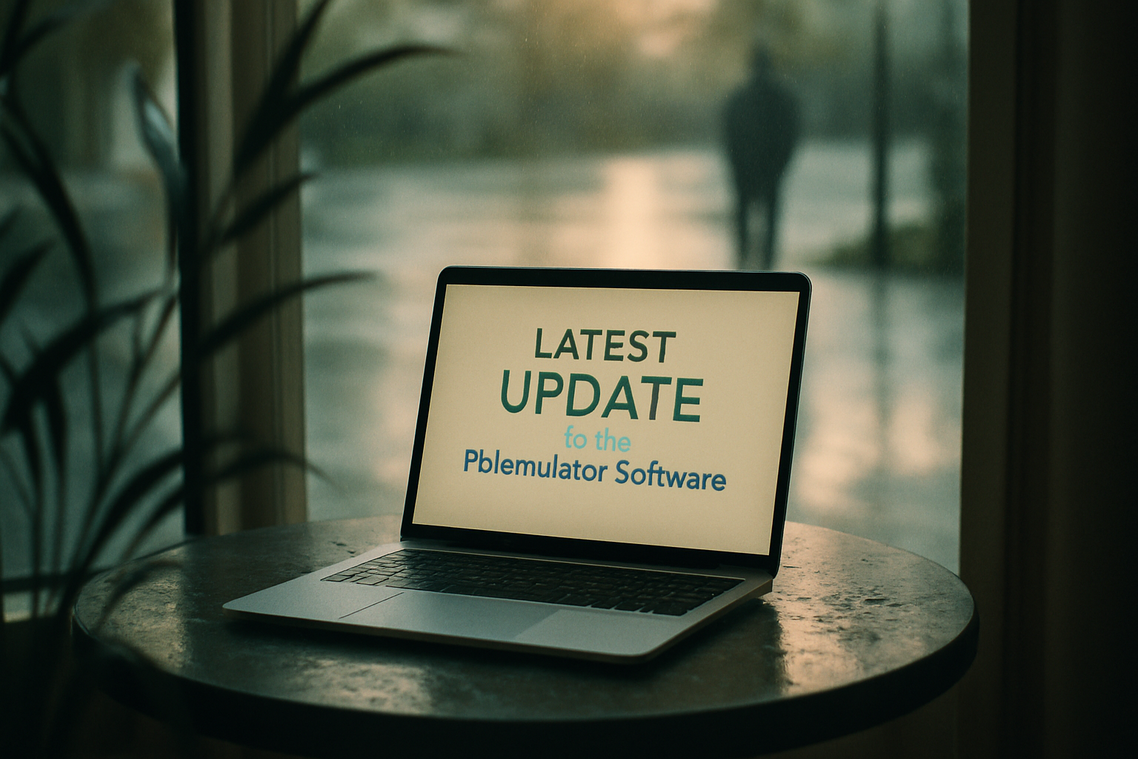
You’re here because your Pblemulator is running slow or some games won’t load properly. Maybe you just want to stay current. Smart move.
Here’s the thing: outdated emulator software causes problems. Games crash. Performance tanks. And yeah, there are security holes you don’t want sitting on your system.
I’m going to show you how to update Pblemulator the right way. No guessing. No risking your saves.
This guide covers both the automatic update method (takes about two minutes) and the manual process if you need more control. I’ve walked through each step myself to make sure nothing gets missed.
We’ve helped thousands of players keep their emulators running smooth. This is the official method that actually works.
You’ll have the latest version installed without losing any of your game progress or settings.
Let’s get your emulator updated.
Why Updating Pblemulator is Non-Negotiable
You’re probably running an outdated version right now.
Most people are. They download Pblemulator once and forget about it. Then they wonder why their games stutter or why that new release won’t boot.
Here’s what happens when you skip updates.
You miss out on speed
Every update brings performance tweaks. The developers optimize code for specific GPUs and fix those annoying graphical glitches that pop up in newer games. I’ve seen frame rates jump by 15% just from updating (and that’s not even counting the big releases).
Your hardware doesn’t change. But how Pblemulator uses it? That improves constantly.
New features keep rolling in
Controller support gets better. New graphical filters show up. The UI becomes easier to navigate. These aren’t just nice-to-haves. They change how you play.
Last month’s update added features that people have been requesting for years. My guess? We’ll see even more quality-of-life improvements as the community grows. Maybe better save state management or cloud sync options.
Security matters more than you think
Here’s the part most people ignore.
Emulators can have vulnerabilities. Your system becomes a target if you’re running old software with known security holes. Updates patch these risks before they become problems.
Learning how to update Pblemulator takes two minutes. Dealing with a compromised system takes days.
Some folks argue that if it’s working fine, why bother updating? They say new versions might break something that currently works.
Fair point. But staying on old versions means you’re trading known improvements for hypothetical stability. That’s a losing bet most of the time.
Pre-Update Checklist: How to Back Up Your Data
Look, I’m going to be real with you.
Nothing feels worse than losing 40 hours of progress because you skipped a backup. (Trust me, I’ve been there. It’s not fun explaining to your friends why you’re replaying the same boss fight they watched you beat last week.)
So before you learn how to update pblemulator, let’s talk about the one thing that’ll save your sanity.
Backing up your data.
I know it sounds boring. But it takes five minutes and could save you from a meltdown.
Finding Your Data Folder
First, you need to know where pblemulator actually stores your stuff.
On Windows, check your Documents folder or AppData/Roaming. On macOS, look in your Library folder under Application Support. Linux users, you’re probably already in ~/.config or ~/.local/share. When troubleshooting issues with your favorite games, don’t forget to check the installation paths in your system directories, as missing files for tools like Pblemulator can often lead to frustrating performance hiccups.
The exact path depends on your setup, but once you find it once, you’ll know where to look next time.
What Actually Matters
You don’t need to back up everything. Just grab these folders:
Your saves folder (obviously), your configs, any custom shaders you’ve tweaked, and your profiles if you have multiple users.
That’s it. Everything else can be redownloaded.
The Smart Way to Do It
Create a zip file of those folders. Name it with today’s date, like “pblemulatorbackup20240115″ so you’re not staring at five files named “backupfinalREAL_final” six months from now.
Stick it somewhere safe. External drive, cloud storage, wherever.
Then go update with confidence. Your progress isn’t going anywhere.
Method 1: The Simple & Recommended Automatic Update
This is the way most people should update Pblemulator.
It takes about two minutes and you don’t need to mess with files or folders. The built-in updater does everything for you.
I’m going to walk you through each step so there’s no confusion.
Getting Started
First, open Pblemulator on your computer. Make sure you’re connected to the internet because the updater needs to download the new version.
Once you’re in, look at the top menu bar. Click on Help and then select Check for Updates. Some versions might have this under Settings instead, but most put it under Help.
A window will pop up. It’ll either say you’re running the latest version or tell you an update is available.
If there’s an update, you’ll see the version number and usually a short list of what’s new. Click the Download button.
The download starts right away. Depending on your connection speed, this could take anywhere from 30 seconds to a few minutes. You’ll see a progress bar.
When the download finishes, the installer kicks in automatically. Click Install when prompted. The ideas here carry over into How to Set up Pblemulator, which is worth reading next.
Here’s what happens next. Pblemulator will close itself. Don’t panic. This is normal. The installer needs to replace the old files with new ones, and it can’t do that while the program is running.
After about 20 seconds, Pblemulator will reopen on its own. If it doesn’t, just launch it manually like you normally would.
Checking Your Version
You want to make sure the update actually worked, right?
Go back to that Help menu and click About Pblemulator. You’ll see the version number listed at the top of the window. Compare it to what the updater said you were downloading.
If the numbers match, you’re done. That’s how to update pblemulator using the automatic method.
The whole process is pretty painless. I recommend checking for pblemulator updates by plugboxlinux at least once a month to stay current with bug fixes and new features.
Method 2: The Manual Update for Full Control
Some of you hit that auto-update button and nothing happens.
Or maybe you just don’t trust automated processes with your game data. I respect that.
This is the manual route. It takes a few extra minutes but you get complete control over what goes where.
Think of it like moving houses. You’re not just throwing everything in a truck and hoping it lands in the right room. You’re packing each box yourself and placing it exactly where you want it. Just as you would meticulously organize your belongings when moving to ensure everything finds its rightful place, the “Tips and Tricks Pblemulator From Plugboxlinux” can help gamers streamline their strategies for optimal performance and enjoyment.
Step 1: Download the Latest Version
Head to the official Pblemulator website and grab the newest version for your operating system. Windows users get a different package than Mac or Linux folks (obviously).
Don’t click the first download link you see on Google. Go straight to the source.
Step 2: Extract the Files
You’ll get a .zip or .7z file. Right-click it and extract everything into a fresh folder. Not your old Pblemulator folder. A completely new one.
I usually create something like “Pblemulator_v2.5” on my desktop so I know exactly which version I’m running.
Step 3: The Critical Step – Migrating User Data
Remember that backup you made earlier? This is why.
Open your backup folder and copy those data folders into your new Pblemulator directory. Your saves, your settings, your controller configs. Everything moves over.
This is where most people mess up when learning how to update pblemulator. They launch the new version and wonder why all their progress vanished. It didn’t vanish. It’s just sitting in the old folder.
Step 4: Launch and Configure
Fire up the new executable.
If you copied everything correctly, all your games should appear in the library. Your settings should match what you had before. Your save files should be right where you left them.
Takes about five minutes total once you’ve done it a couple times.
Troubleshooting Common Update Issues
You updated and something broke.
It happens. I see it all the time when people learn how to update pblemulator.
Let me walk you through the most common problems and how to fix them.
‘Update Failed’ Error
Your firewall might be blocking the download. Check your security settings and make sure the emulator has permission to access the internet.
Sometimes it’s just the server getting hammered. Wait 30 minutes and try again.
If it keeps failing, grab the manual update from the official site instead. That usually works when automatic updates won’t.
Emulator Won’t Launch After Update
Did you download the right version for your OS? Windows files won’t work on Mac (obvious, but I’ve seen it happen).
Extract everything. Not just the main file. The emulator needs all those support files to run properly.
Try running as administrator if you’re on Windows. Right click the executable and select that option.
Settings or Saves are Missing
This is why I told you to backup first.
Your old user data is still there in your previous installation folder. You just need to copy it to the new directory.
Look for folders named “saves” or “config” in your old installation. Copy those into the same location in your new setup. As you transition to your new setup, make sure to transfer your old saves and config folders to ensure a seamless experience, especially with the latest Pblemulator Updates by Plugboxlinux enhancing your gameplay.
For more help getting everything running smoothly, check out these tips and tricks pblemulator from plugboxlinux.
Still stuck? The community forums usually have solutions for weird edge cases I haven’t covered here.
You’re Ready to Play
You came here to update PBL Emulator. You did it.
Your emulator now runs with the latest features and security patches. Your data is protected and your games will perform better.
Here’s the thing about updates: they’re not just about fixing bugs. They give you access to improvements that make your gaming experience smoother.
I’ve seen too many players skip updates and wonder why their games lag or crash. You’re not one of them anymore.
Now it’s time to put this to work. Launch your favorite game and see the difference for yourself. You’ll notice faster load times and better stability.
The work is done. Go play.
 Jexor Durnhaven writes the kind of player strategy guides content that people actually send to each other. Not because it's flashy or controversial, but because it's the sort of thing where you read it and immediately think of three people who need to see it. Jexor has a talent for identifying the questions that a lot of people have but haven't quite figured out how to articulate yet — and then answering them properly.
They covers a lot of ground: Player Strategy Guides, Expert Opinions, Esports Highlights, and plenty of adjacent territory that doesn't always get treated with the same seriousness. The consistency across all of it is a certain kind of respect for the reader. Jexor doesn't assume people are stupid, and they doesn't assume they know everything either. They writes for someone who is genuinely trying to figure something out — because that's usually who's actually reading. That assumption shapes everything from how they structures an explanation to how much background they includes before getting to the point.
Beyond the practical stuff, there's something in Jexor's writing that reflects a real investment in the subject — not performed enthusiasm, but the kind of sustained interest that produces insight over time. They has been paying attention to player strategy guides long enough that they notices things a more casual observer would miss. That depth shows up in the work in ways that are hard to fake.
Jexor Durnhaven writes the kind of player strategy guides content that people actually send to each other. Not because it's flashy or controversial, but because it's the sort of thing where you read it and immediately think of three people who need to see it. Jexor has a talent for identifying the questions that a lot of people have but haven't quite figured out how to articulate yet — and then answering them properly.
They covers a lot of ground: Player Strategy Guides, Expert Opinions, Esports Highlights, and plenty of adjacent territory that doesn't always get treated with the same seriousness. The consistency across all of it is a certain kind of respect for the reader. Jexor doesn't assume people are stupid, and they doesn't assume they know everything either. They writes for someone who is genuinely trying to figure something out — because that's usually who's actually reading. That assumption shapes everything from how they structures an explanation to how much background they includes before getting to the point.
Beyond the practical stuff, there's something in Jexor's writing that reflects a real investment in the subject — not performed enthusiasm, but the kind of sustained interest that produces insight over time. They has been paying attention to player strategy guides long enough that they notices things a more casual observer would miss. That depth shows up in the work in ways that are hard to fake.